Docker for Mac: neat, fast, and flawed.
Recently, Docker announced a new and exciting product: Docker for Mac. In this blog I will share my experiences and my view on Docker for Mac as a product.
May 14, 2016
docker
Recently, Docker announced a new and exciting product: Docker for Mac. Obviously, I immediately applied for the closed beta, and after weeks of waiting, I finally got access. In this blog I will share my experiences with the Docker for Mac Beta, and my view on Docker for Mac as a product.
What is Docker for Mac?
As the people at Docker describe it, Docker for Mac is a faster, easier and more reliable alternative to Docker Toolbox. What you get is a native OSX app, or actually, a menu-bar icon with a settings panel, and the usual Docker components under the hood:
- Docker Engine
- Docker CLI
- Docker Compose
- Docker Machine
You also get a CLI tool called pinata that is basically a CLI-version of the settings panel.
Getting started with Docker for Mac
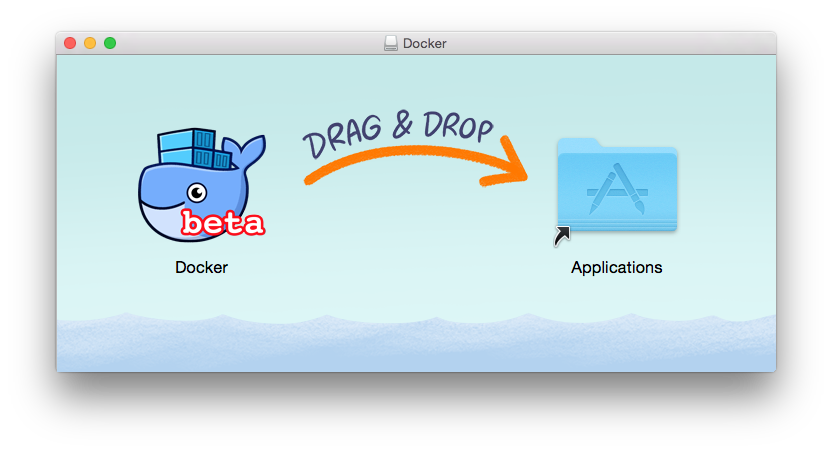
Installing Docker for Mac is quite easy. You download the DMG file from the Beta Website, open the DMG file, and drag the Docker app to the Applications folder. No need to install Virtualbox, Docker for Mac uses XHyve instead.
When you first start the app, you need to enter your beta key (it’s a closed beta, after all) and enter your admin credentials so Docker can install the ‘networking components’.
Next you can open your favorite terminal app, and simply run a Docker container, like this:
$ docker run --rm -p 80:80 nginx:latest
That’s right, you don’t have to do any eval $(docker-machine env default) stuff to use Docker Beta in your favorite Terminal. One thing you also don’t need to do anymore, is figure out the IP address of your VM using docker-machine ip default. You simply point your browser to http://localhost/ and that’s it!
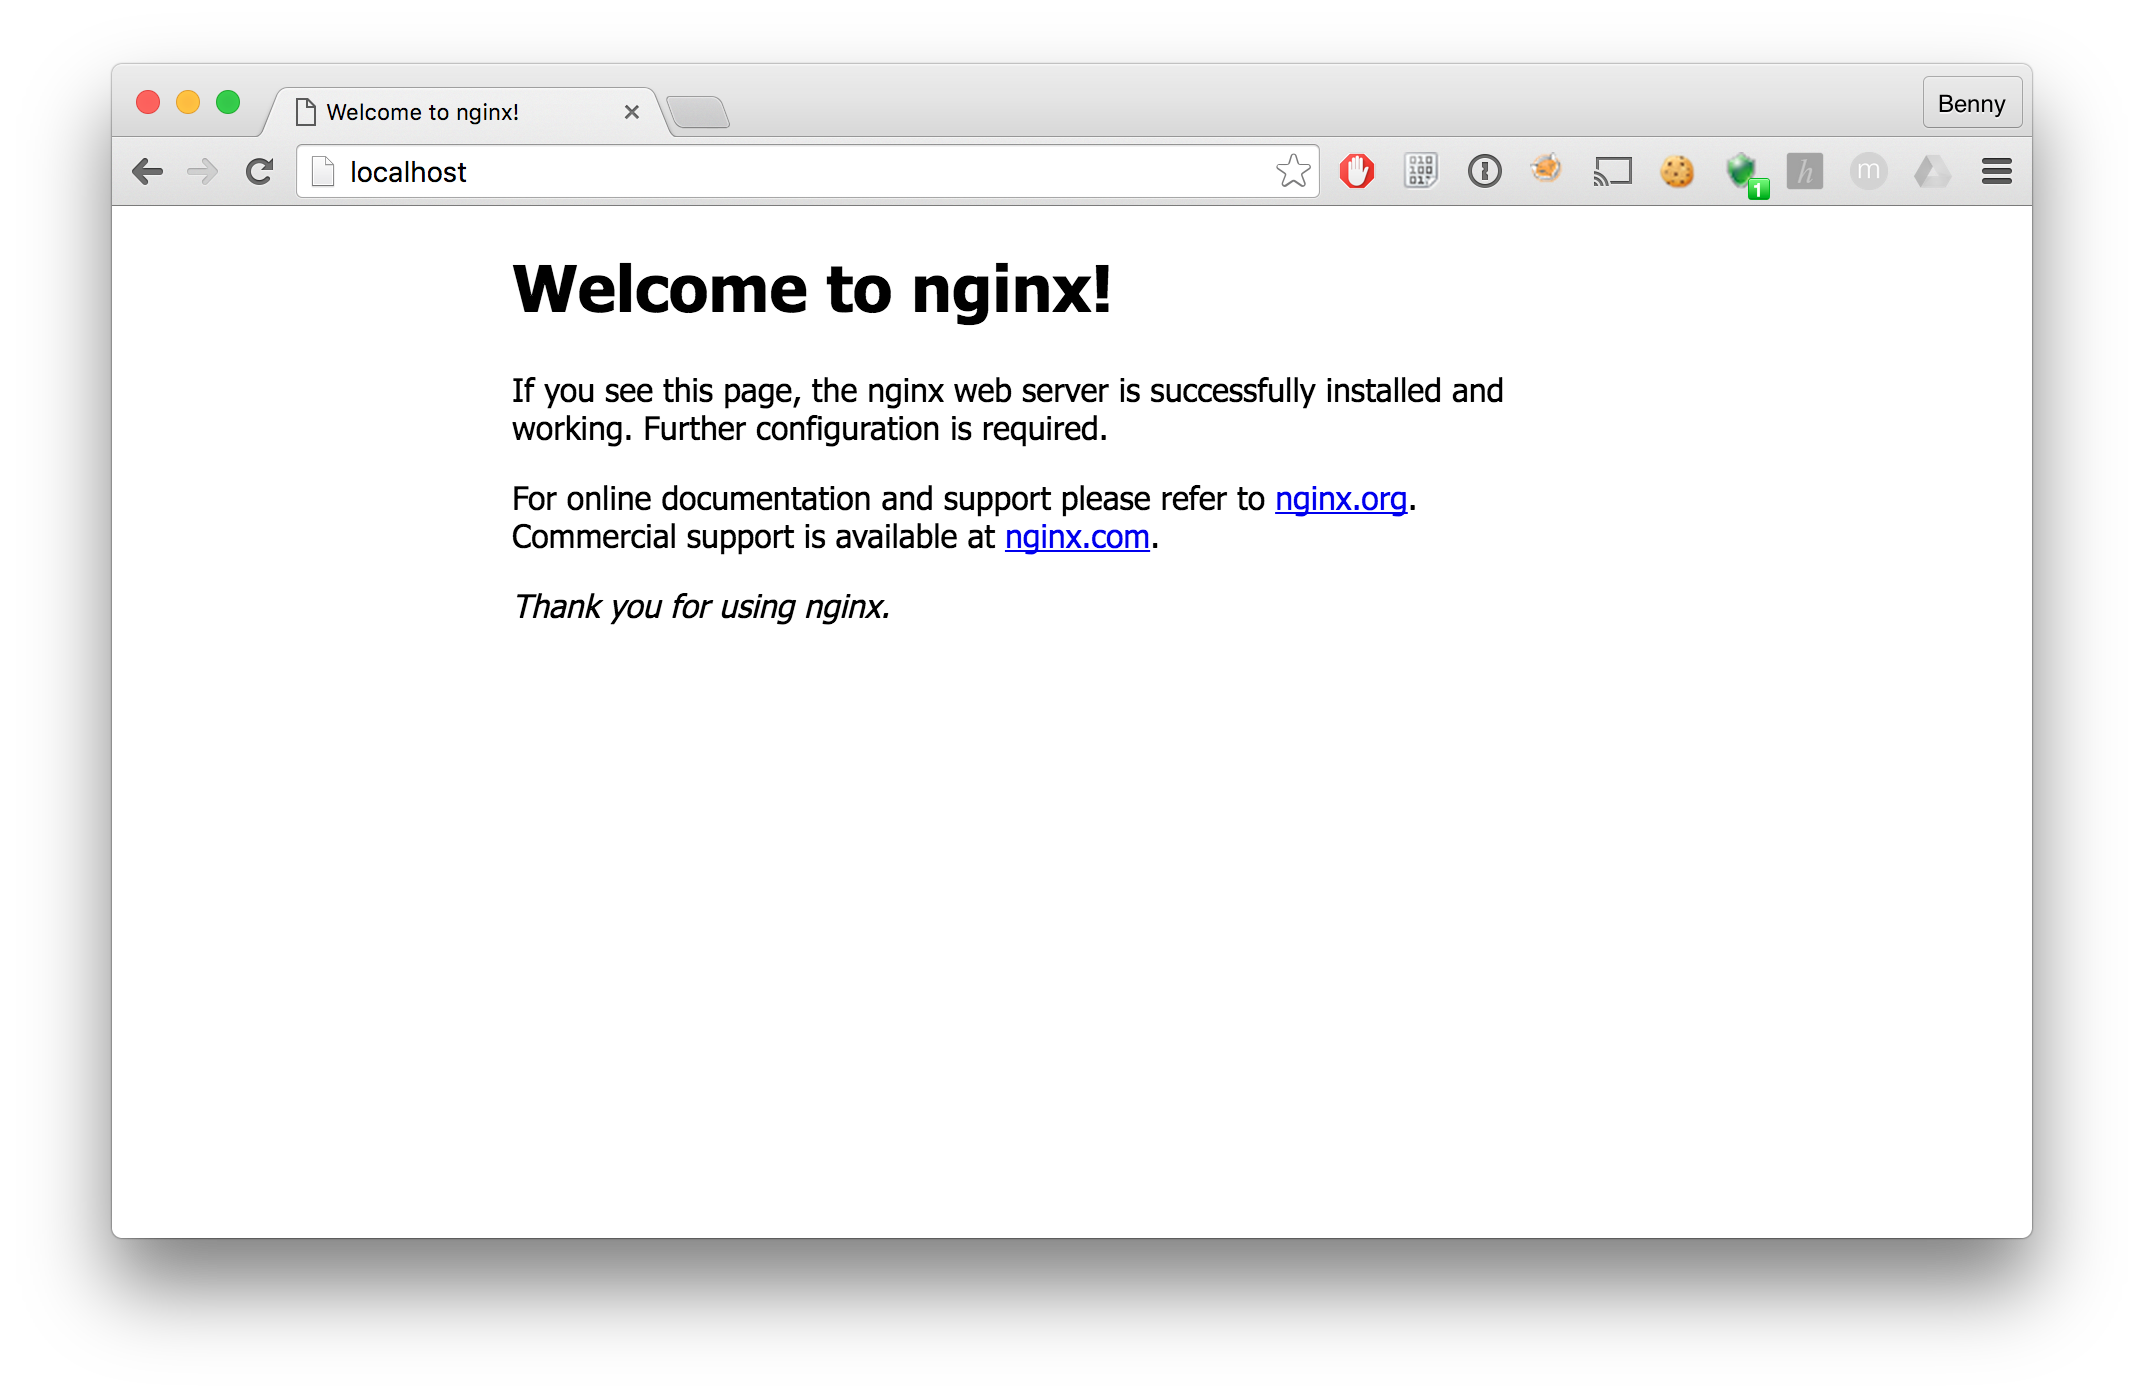
That’s pretty neat.
Compared to Docker Toolbox, Docker for Mac is a pretty big improvement. Install is easy, ports are bound to localhost, you can use any terminal app you like, and because there’s no Virtualbox there’s also no inotify-bug to drive you up the wall when using Docker when you’re developing a website.
Using and Confusing
So far, we basically followed Docker’s ‘Happy Flow’ to get started with Docker for Mac, and so far the experience has been pretty neat. But I’m not using Docker to re-create the ‘Happy Flow’, I use it to actually get some work done. So let’s see if Docker for Mac works for that.
To put things into perspective, let me tell you that I don’t use Docker Toolbox. I use Homebrew for pretty much everything I need, so instead of installing Docker Toolbox which includes a bunch of stuff I don’t ever use (like the Docker Terminal and Kitematic), I simply get the parts that I do use via Homebrew. This also makes the process of updating easy. I also recently replaced Virtualbox with Vmware Fusion as the backend for my Docker VM, so I didn’t suffer from the inotify bug. I was a pretty happy Docker user.
As it turns out, Docker for Mac didn’t just install ‘networking components’ when I entered my credentials at the first start. It also changed the symlinks for docker, docker-machine, and docker-compose in the /usr/local/bin directory to point to the versions included in the Docker.app. I only discovered this after brew upgrade failed. I can understand why they used the symlinks in /usr/local/bin, as it is in your $PATH by default, making the experience seamless. However, a little warning up front would have been nice. Instead it simply broke my Homebrew setup. Not cool.
Then there’s the part where exposed ports are bound to localhost. On one hand, this is neat, especially for new users who don’t want to figure out how their host-only VM networking works. On the other hand, keeping that networking matter away from the user, and even calling it ‘native’ will eventually just end up being really confusing when stuff doesn’t work and a user needs to debug his/her setup.
Fortunately, you can use pinata to change this ‘native’ behavior. If you run pinata set native/port-forwarding false your setup will work just like it did when you were still using Docker Machine. However, there’s no equivalent of docker-machine ip to quickly find the IP address of the XHyve VM. You could use pinata list to get the current settings, which include the IP address for the VM.
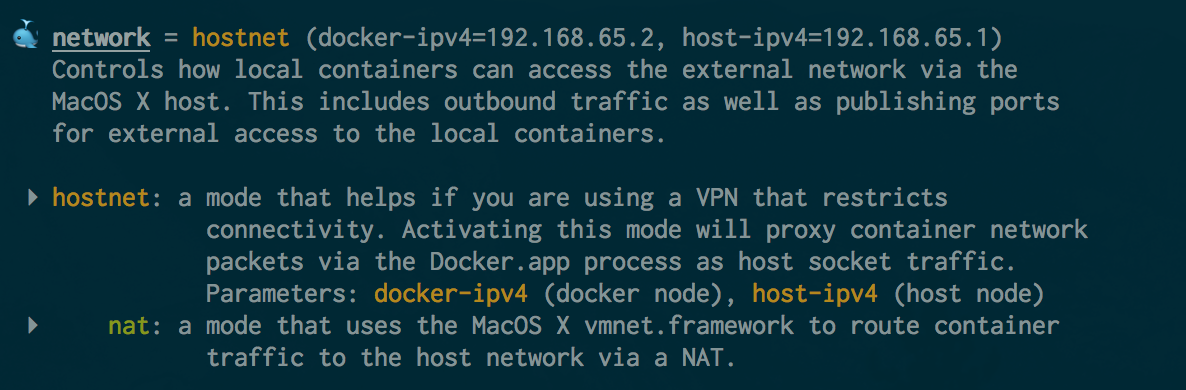
However, as it turns out, the IP address listed there is not always the correct one. For instance, with ‘native’ mode disabled I should be able to point my browser to http://192.168.65.2, according to pinata list. Unfortunately that doesn’t work.
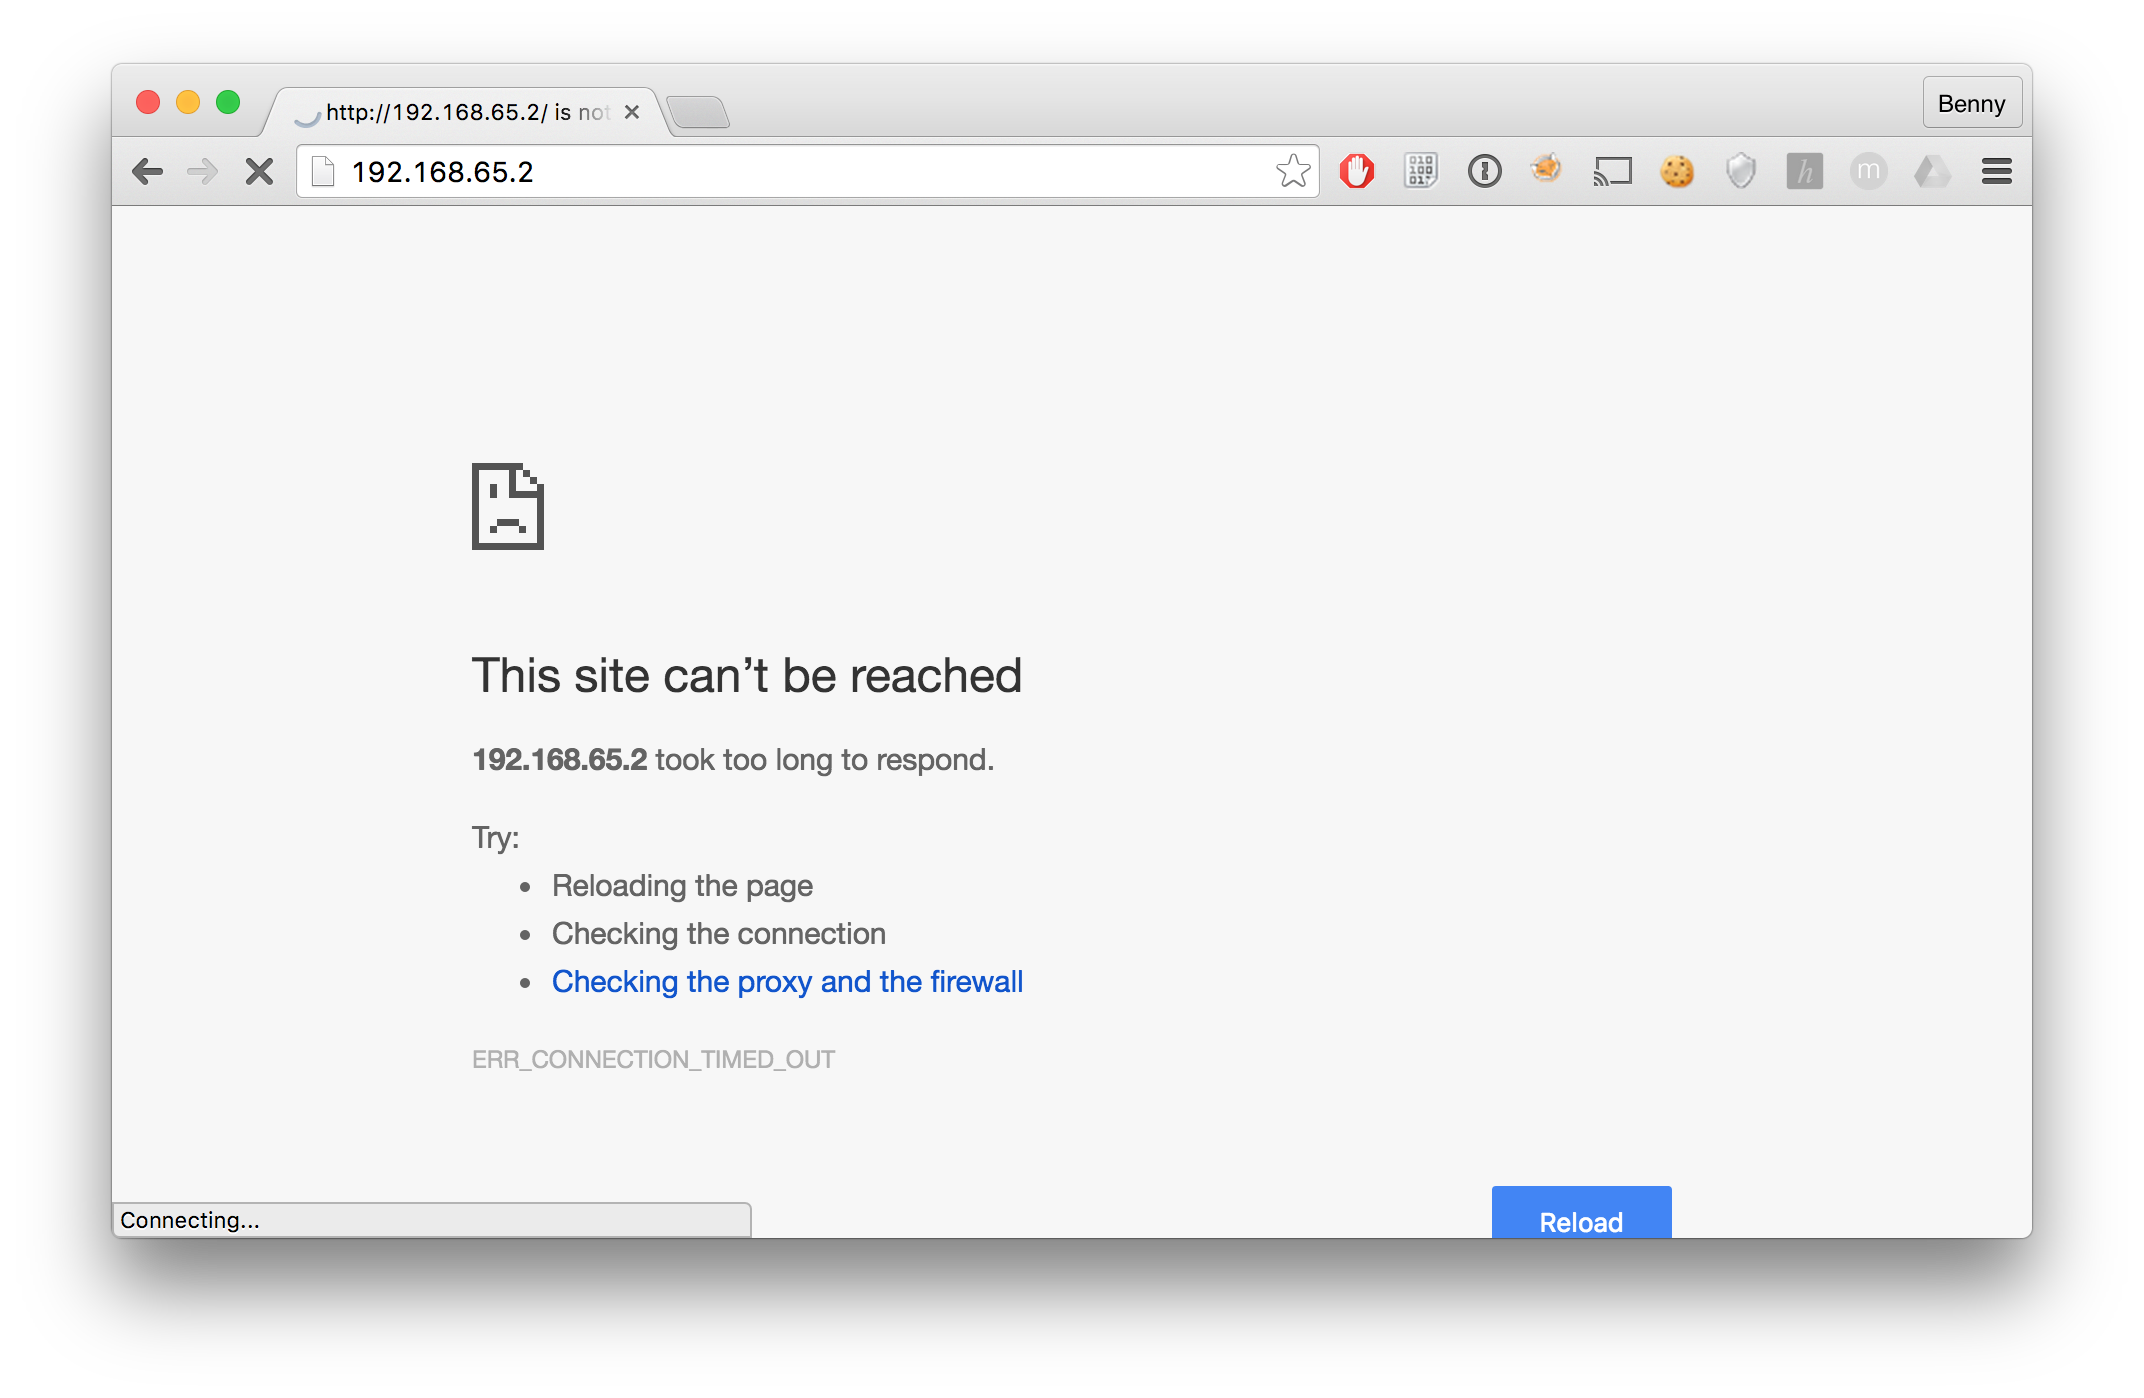
Time to debug stuff! Let’s SSH into that VM already!
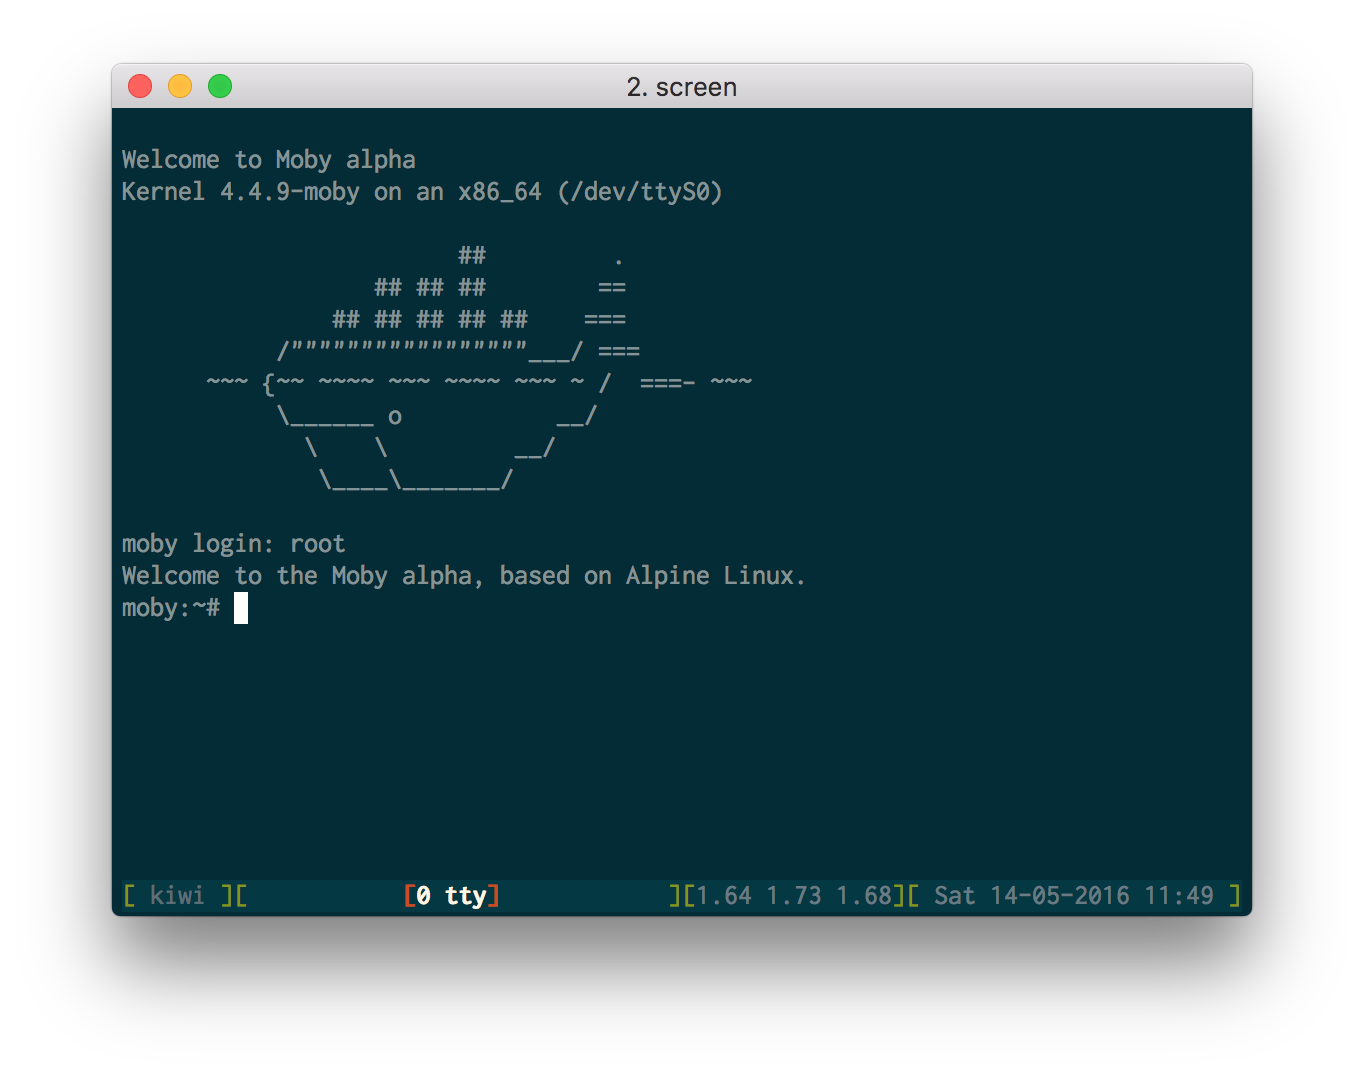
Not so fast. Docker for Mac doesn’t use docker-machine and there’s no pinata ssh or something like that. So how am I going to get access to my VM? Well, according to the Troubleshooting Page I need to use screen to attach a socket:
$ screen ~/Library/Containers/com.docker.docker/Data/com.docker.driver.amd64-linux/tty
Now, in the blank screen I need to type login=root according to docs, but in reality I just need to press enter to get a login prompt.
After running ifconfig I noticed that the IP address listed in pinata list is actually on my eth1 interface. My eth0 interface has a different IP. When I use that in my browser, suddenly everything works. How did I get this extra network interface? I have no idea. But evidently, one cannot trust the output of pinata list, which makes the lack of pinata ip even more painful. I fixed it by creating a shell alias that gets the correct (eth0) IP address and adds an enty in my /etc/hosts file for it.
dmhosts_beta ()
{
    local DMHOSTNAME="betahost";
    sudo -v;
    grep ${DMHOSTNAME} /etc/hosts > /dev/null && sudo sed -i '' "/${DMHOSTNAME}/d" /etc/hosts;
    sudo echo "$(docker run --rm --privileged --net=host alpine ifconfig eth0 | awk -F':|[ ]+' '/inet / {print $4}') ${DMHOSTNAME}" | sudo tee -a /etc/hosts
}
Now I can just run dmhosts_beta in my shell, enter my password (so my /etc/hosts file can be updated) and then just use the hostname betahost in my browser.
Of course, I would have never discovered (or even encountered) this issue if I had just used ‘native’ mode and connected to localhost instead. Unfortunately I ran into different issues when I used localhost. For a simple Nginx container that serves whatever it finds in /usr/share/nginx/html the ‘native’ setup works fine. But if you start running more complex setups using docker-compose where you run a bunch of microservices and a proxy layer, you might need FQDNs to make the name-based virtual hosts in your proxy work. The guys at Xip.io offer a great (free) service for that, where you can use FQDNs that look like 123.123.123.123.xip.io which then resolve to 123.123.123.123. However, for inter-container communication (service A trying to connect to the service B FQDN), this will break when you use localhost, as 127.0.0.1.xip.io will resolve to 127.0.0.1 and service A will end up trying to connect to 127.0.0.1, and never leave the container.
Wrapping up
The good:
- improvement over Docker Toolbox
- no more Virtualbox!
- XHyve has some problems of its own, but overall is faster and more reliable than Virtualbox
The bad:
- Still using a GUI app to set up command line tools
- No pure CLI way to use Docker for Mac
- Installer simply breaks Homebrew without asking
- Fake ‘native’ might look user-friendly, but will only cause confusion later on
- No proper alternatives for the
docker-machine ipanddocker-machine ssh - Network info in
pinata listmight not be correct
If you are using Docker Toolbox, then Docker for Mac will certainly improve your experience. However, if your use of Docker goes beyond the basics, you might find Docker for Mac to be a fundamentally flawed solution for problems you didn’t have.
However, if the people at Docker don’t abandon docker-machine, and make sure the xhyve driver for docker-machine gets all the good stuff that’s currently in Docker Beta, people can still use that and be very, very happy.